


Last year sometime, we started talking about chickens. Tim really wanted fresh eggs and I didn’t have a reason to argue except for my general fear of birds. I bought a highly-recommended book about raising chickens since I’m the girl who must know every. single. thing. before making a big decision and I love to research. Having pet chickens seemed like a fun project, we were up for building a coop, and fresh eggs would certainly support my baking obsession.
We started to look at various breeds of chickens and coop plans in February. We desired large sized egg layers, not meat birds, and they had to be docile. We also wanted a sturdy coop to keep out predators since we live in a rural area with plenty of hawks, foxes, and coyotes. The plans we liked the best were sheds that were retrofitted into coops. We wanted an all-in-one coop/storage area for food and supplies as well as room for a future brooder in case we wanted to expand our flock down the road. Below was the original plan I drew up. It’s been tweaked a little, but it’s mostly the same idea:

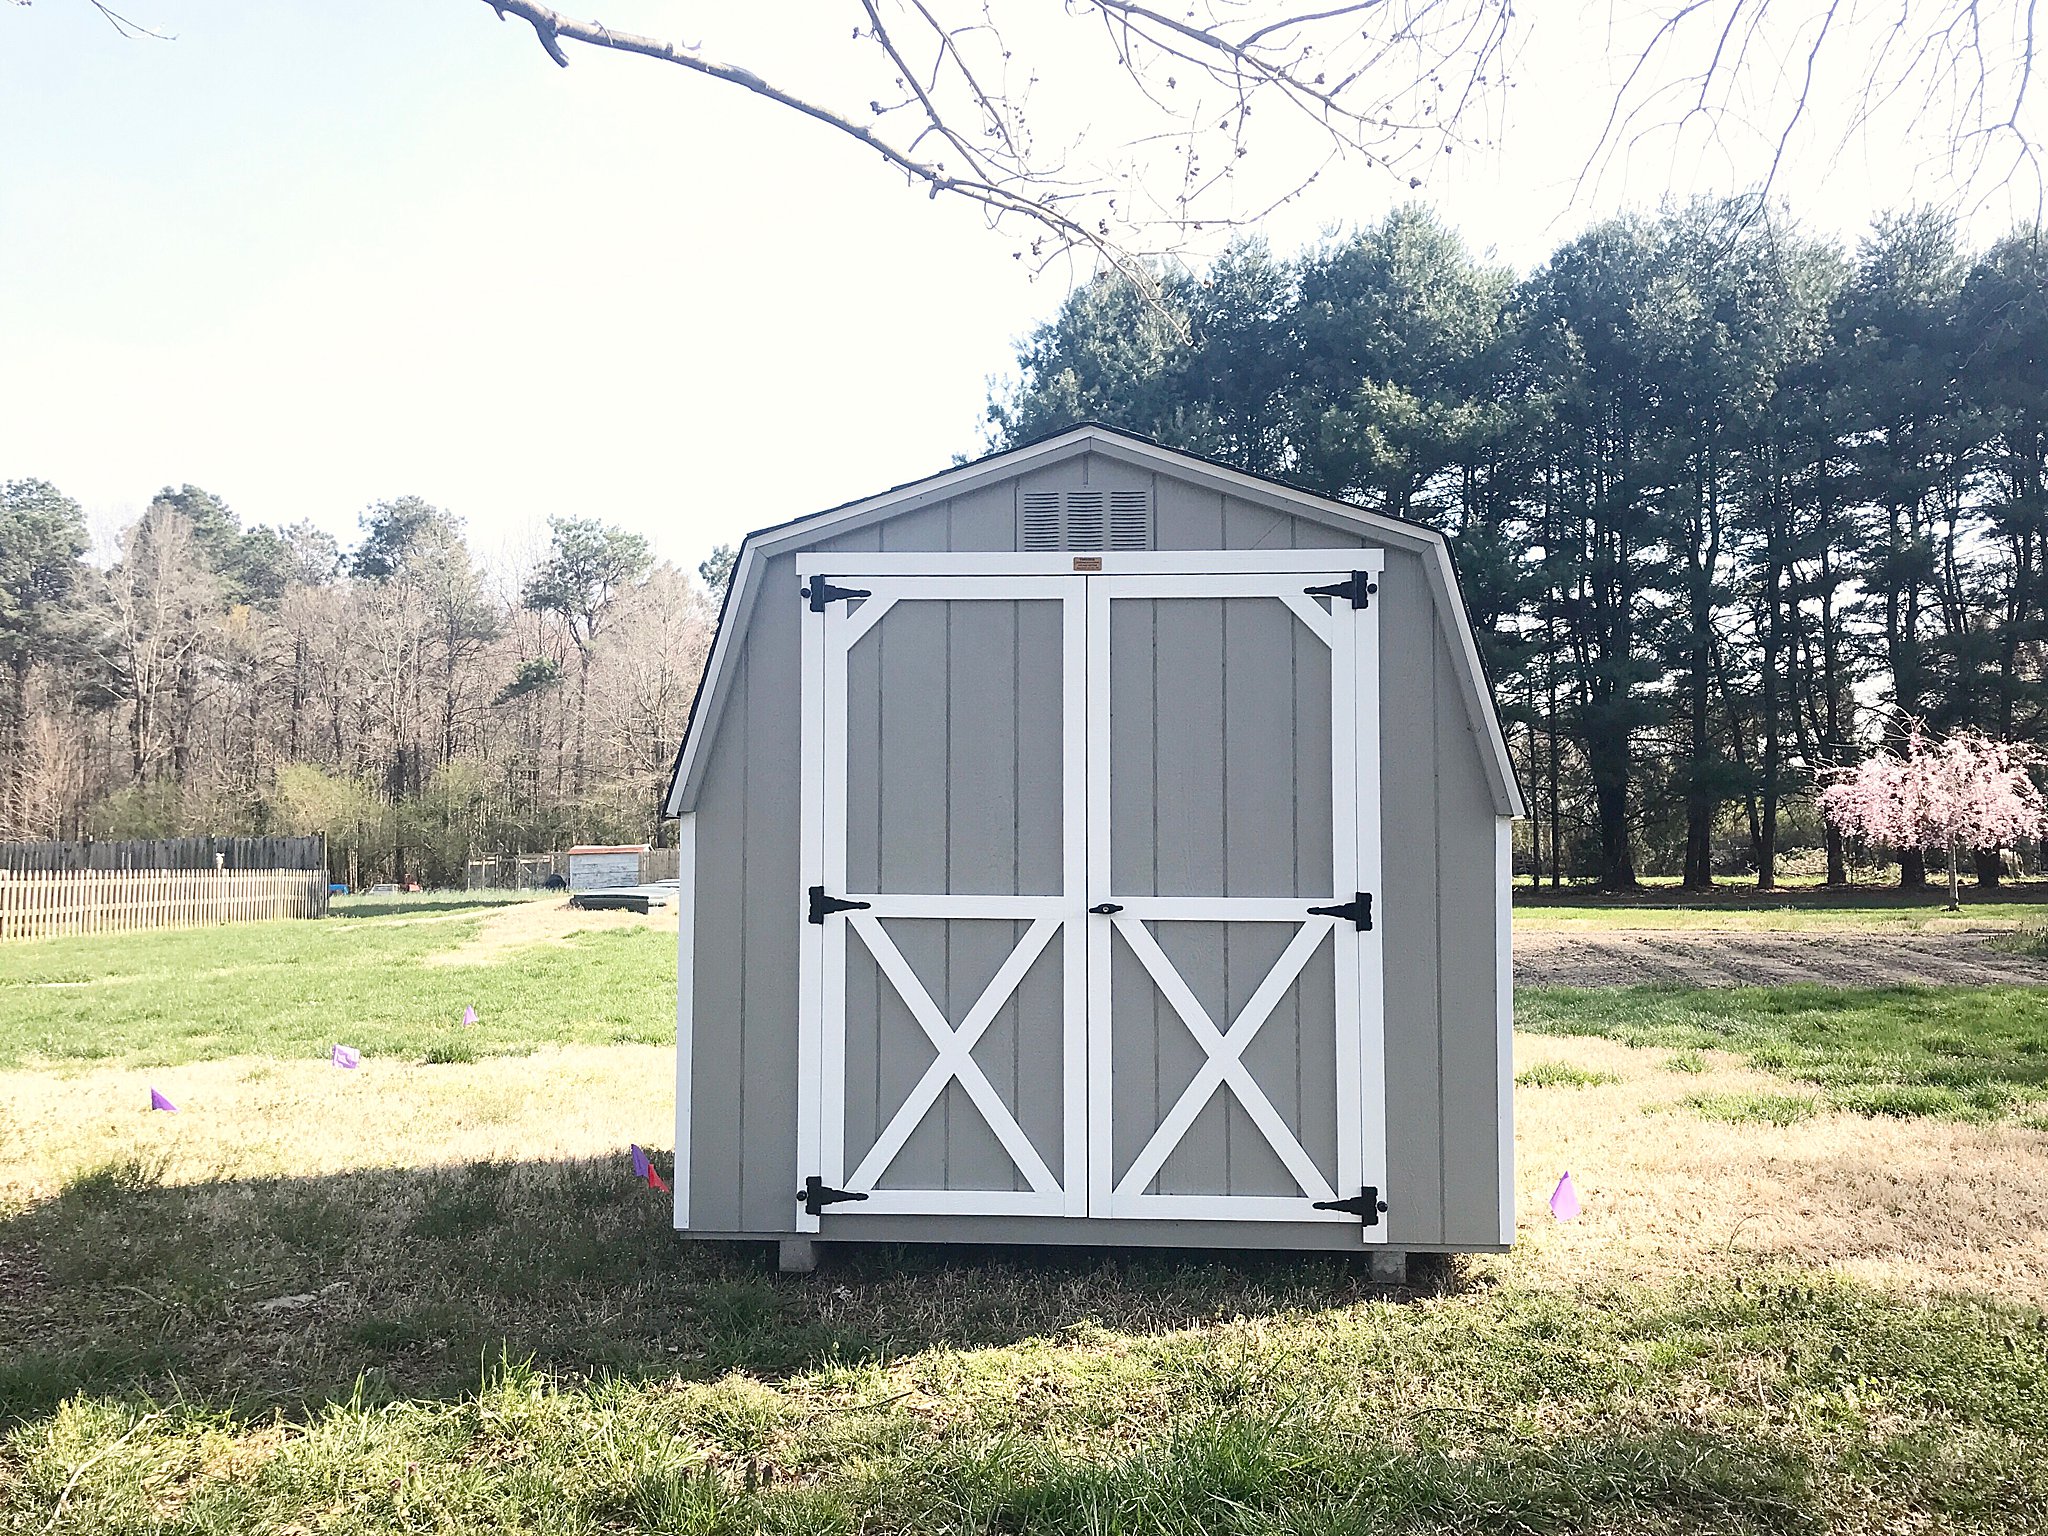
To save building time, we purchased a pre-built 8×8 barn shed with shingles. It might be overkill, but we wanted it to possibly house more chickens later or to have a use for the building if we later decided chicken-raising wasn’t for us. The pre-built coops we browsed were either cheaply made or ridiculously expensive and small. We have a larger shed on our property from this company and it’s nicely built.
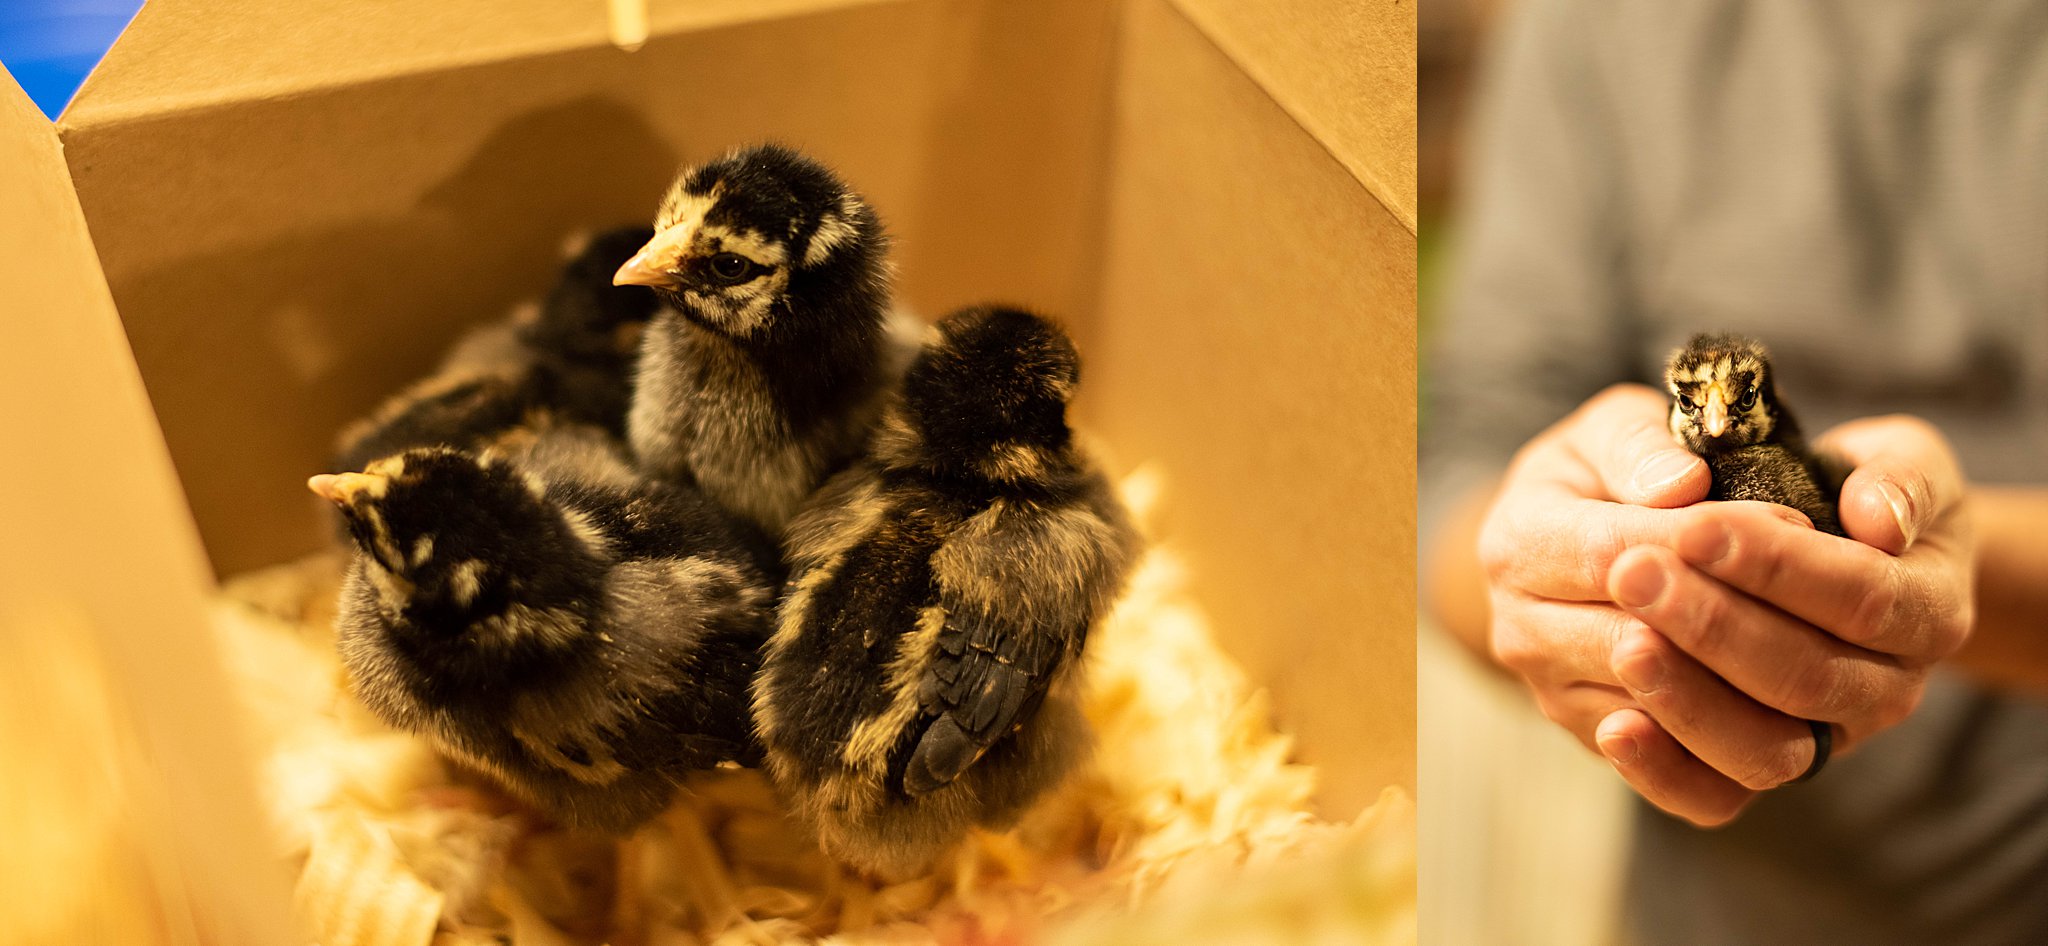
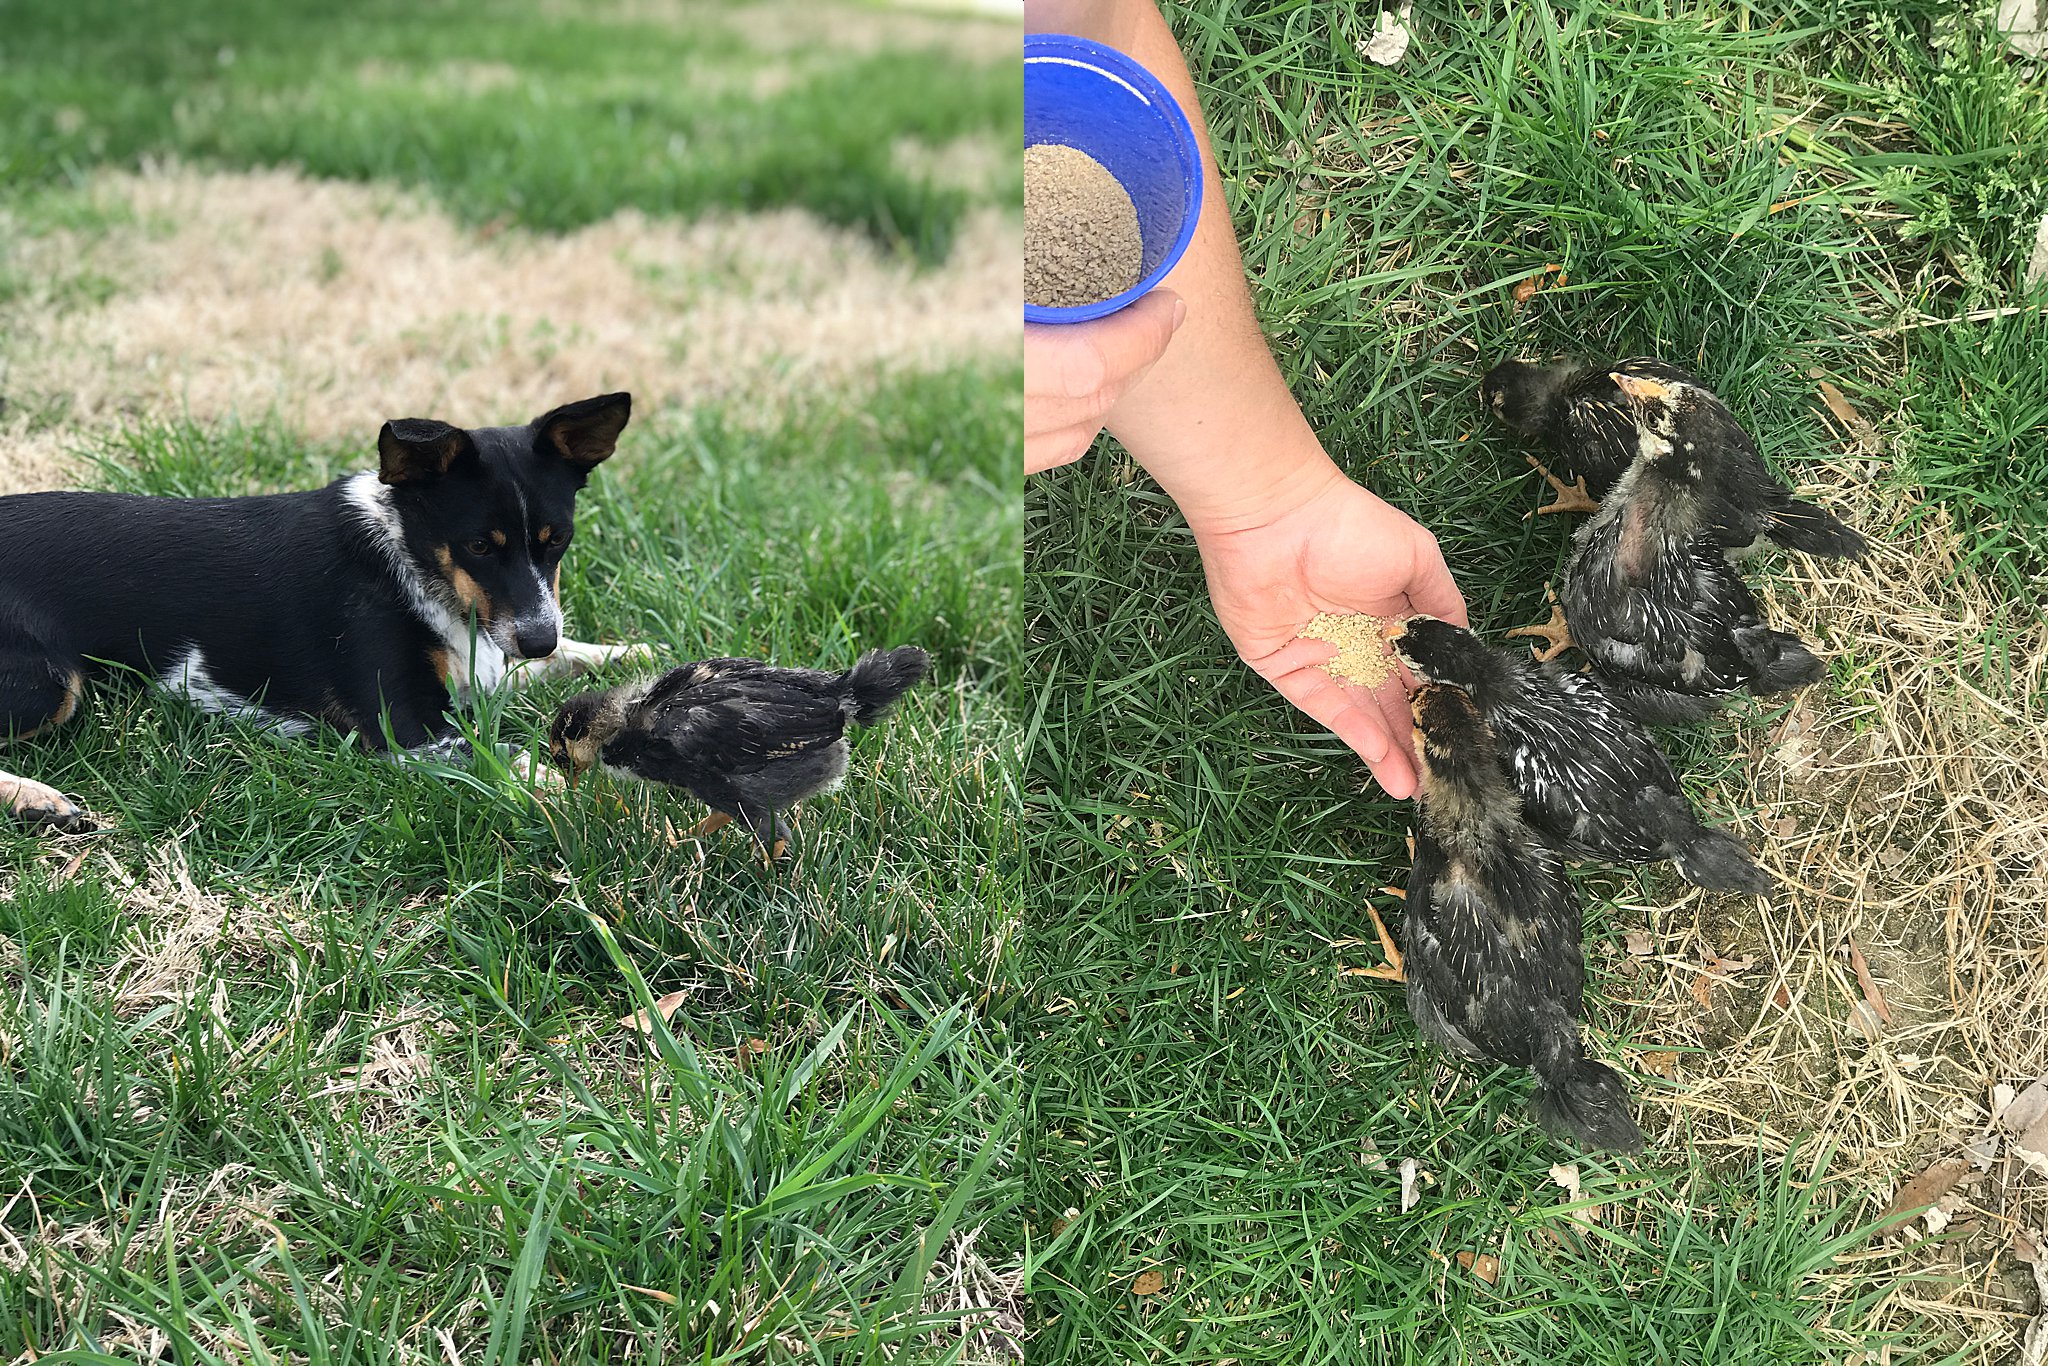
In the meantime, we got chicks! 2 Silver Laced and 2 Golden Laced Wyandottes. They were SO tiny and fuzzy! Thanks, Sarah!
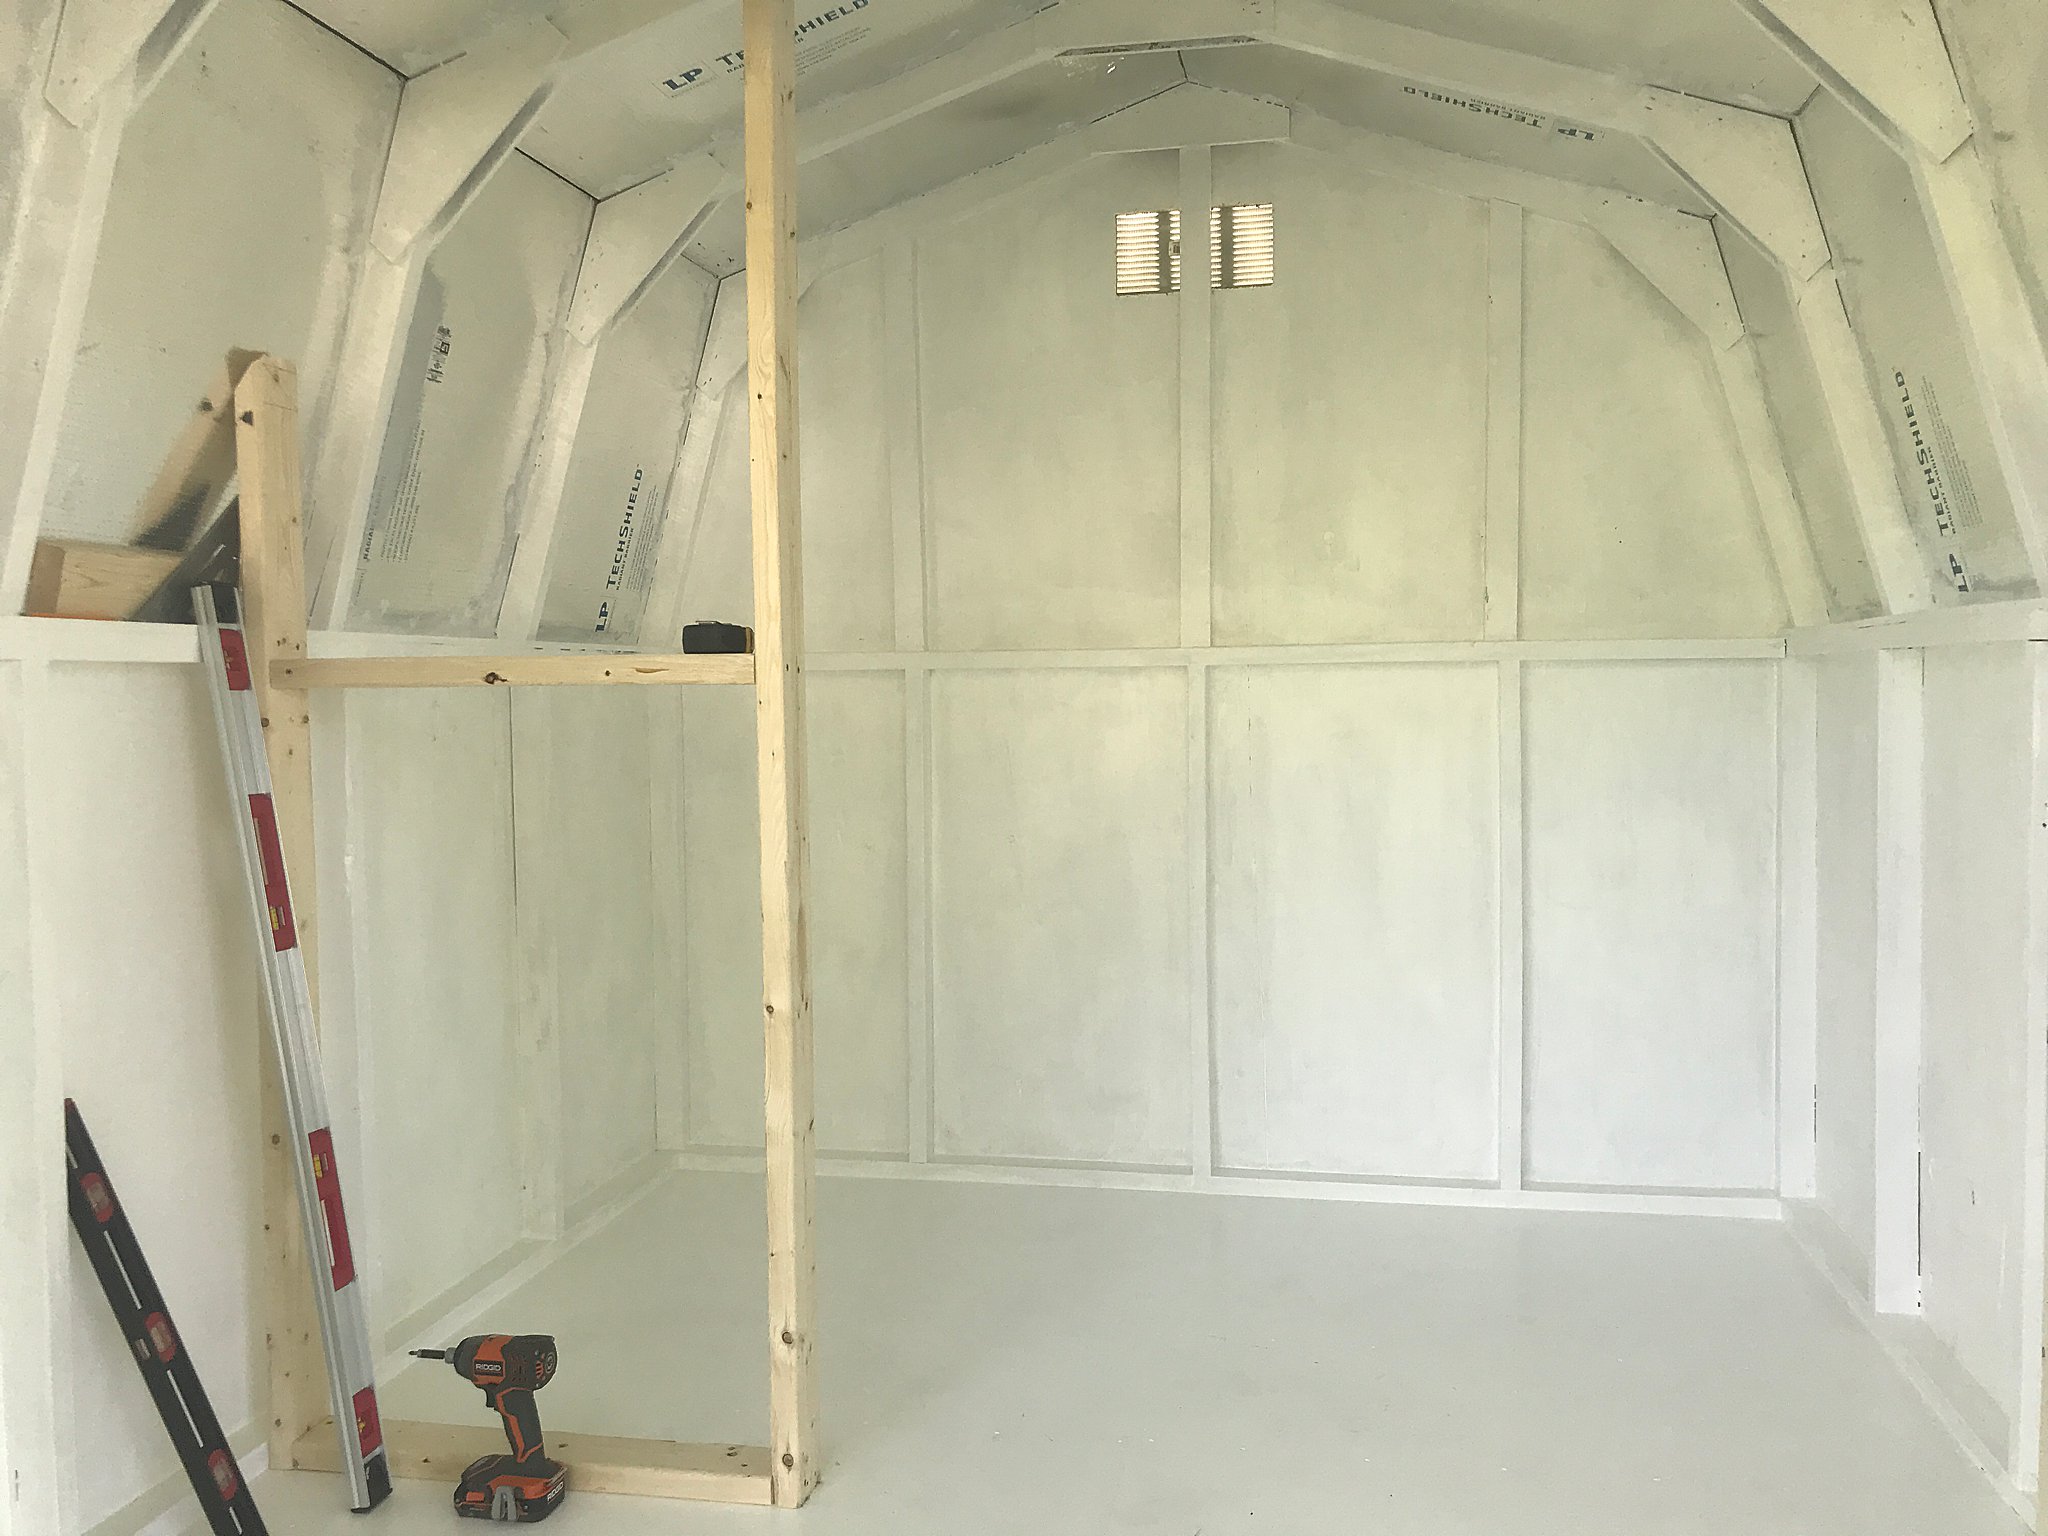
The interior of the shed was basic and unfinished. We painted the floor and walls with a heavy coat of Kilz 2 and then white exterior paint for easier cleaning and durability.

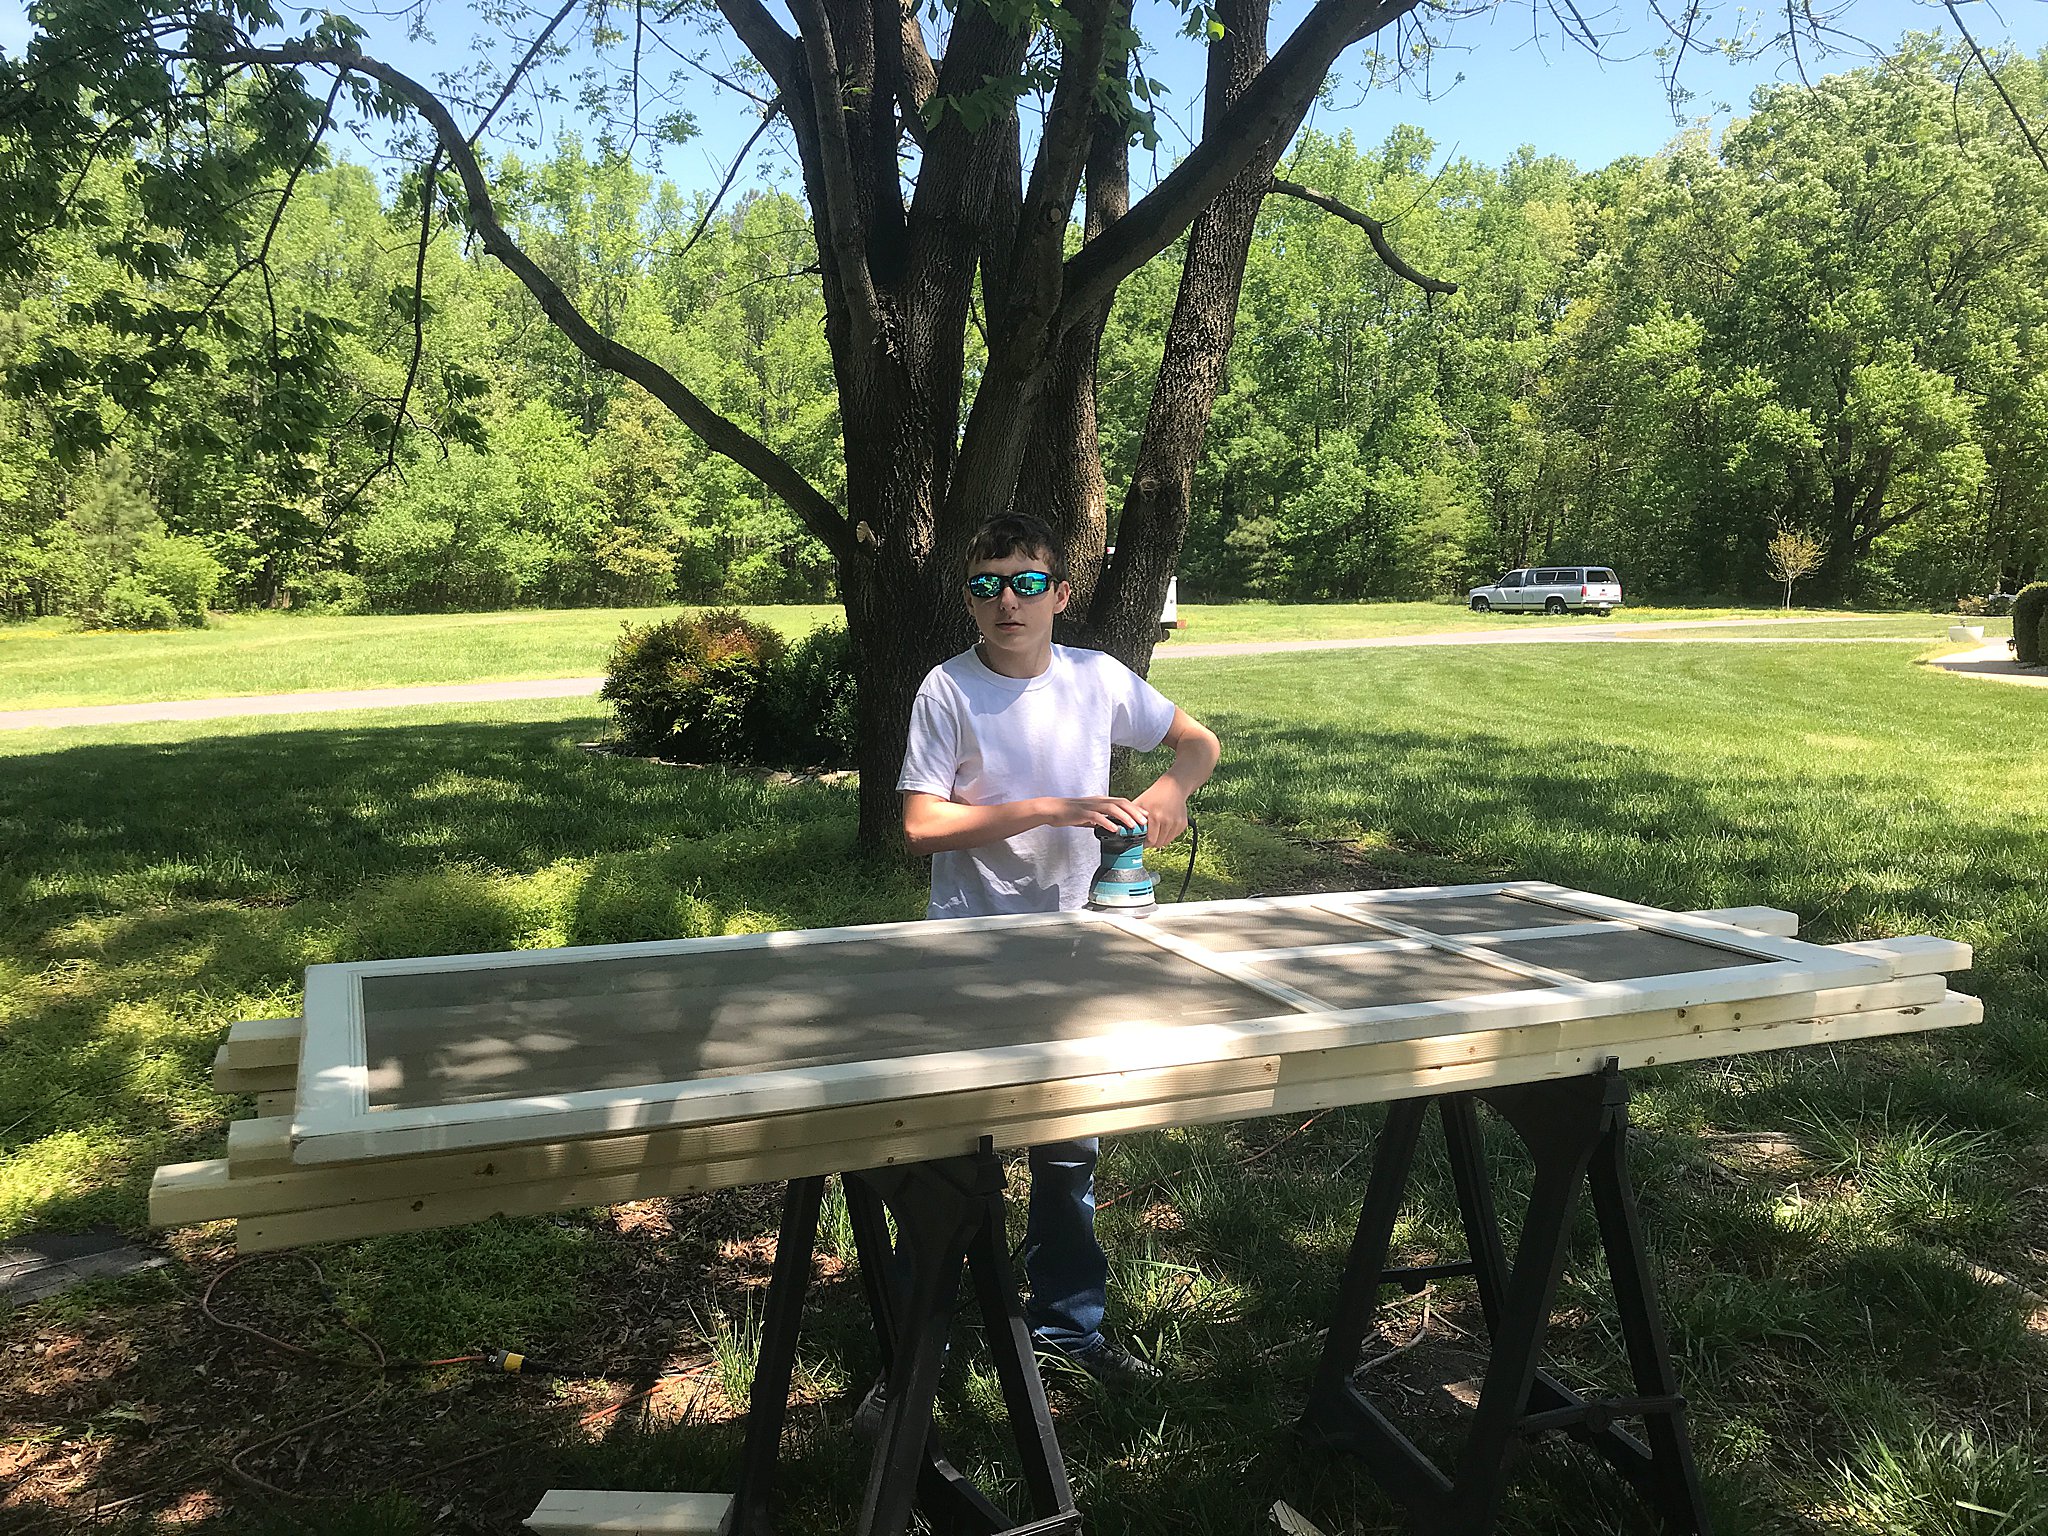
We then started framing out the main coop wall and door space. The door was from Tim’s grandparent’s old screened in porch. Noah learned to use a palm sander that day.
We considered many materials for the coop flooring. We wanted something easy to clean and seam-free. We ultimately chose sheet linoleum, which was super cheap and easy to install. We caulked around all the edges for a good seal.

Meanwhile…the chicks met their neighbor friend and kept growing…
We stapled chicken wire to the wooden frame from floor to ceiling. We also installed a vinyl window on the rear wall for ventilation and light.

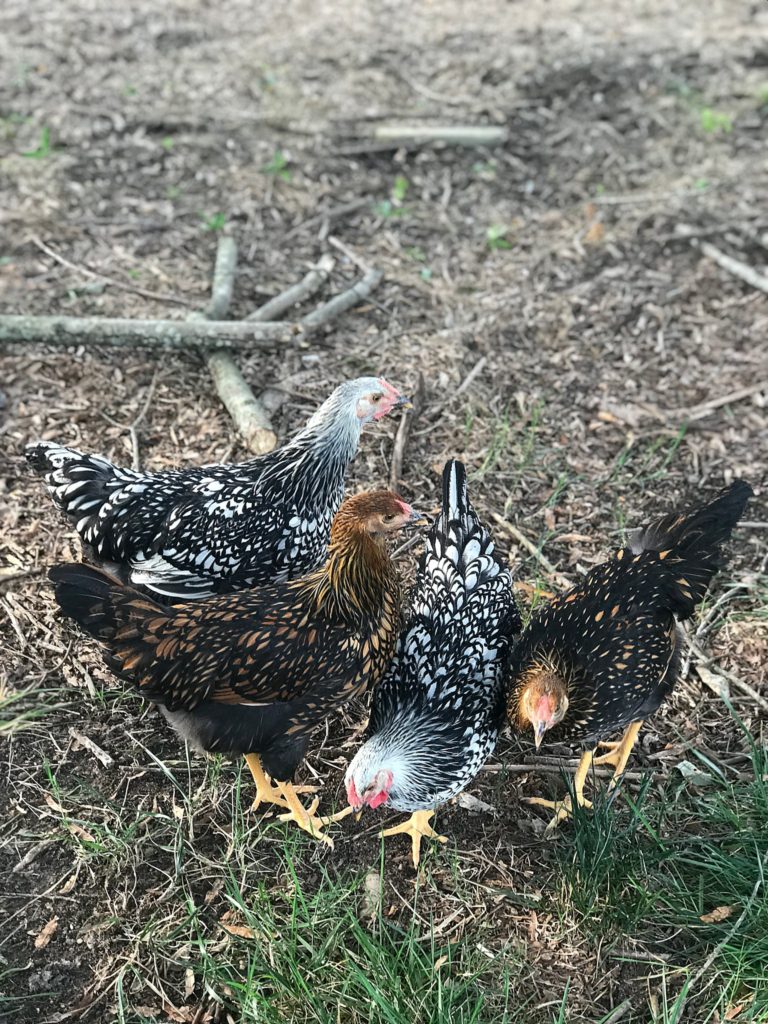
We still needed to build the outdoor run, but the chickens really needed to move into their new home. These babies get big quick! Meet Blanche, Rose, Dorothy & Sophia! (yes, the Golden Girls!)

The feeder and waterer was an idea from a new friend at Tractor Supply…thanks Janie! We purchased a 5 gallon food grade bucket and attached chicken watering cups. For feed, we placed a basic feeder inside of rubber feeder pan and raised it on a cinder block. Chickens are not neat creatures and we will move their water and feed outside of the coop as soon as the run is complete. For now, we let them outside to free range and keep a close eye on them.
On the right side of the coop is their roost or “balance beam” as this former gymnast likes to call it. 🙂 Underneath the roost is a sand “litter box” for easy poop scooping. Chickens poop a lot while roosting in their sleep. We sprinkle some Sweet PDZ in the sand to keep the coop smell down. It really works!
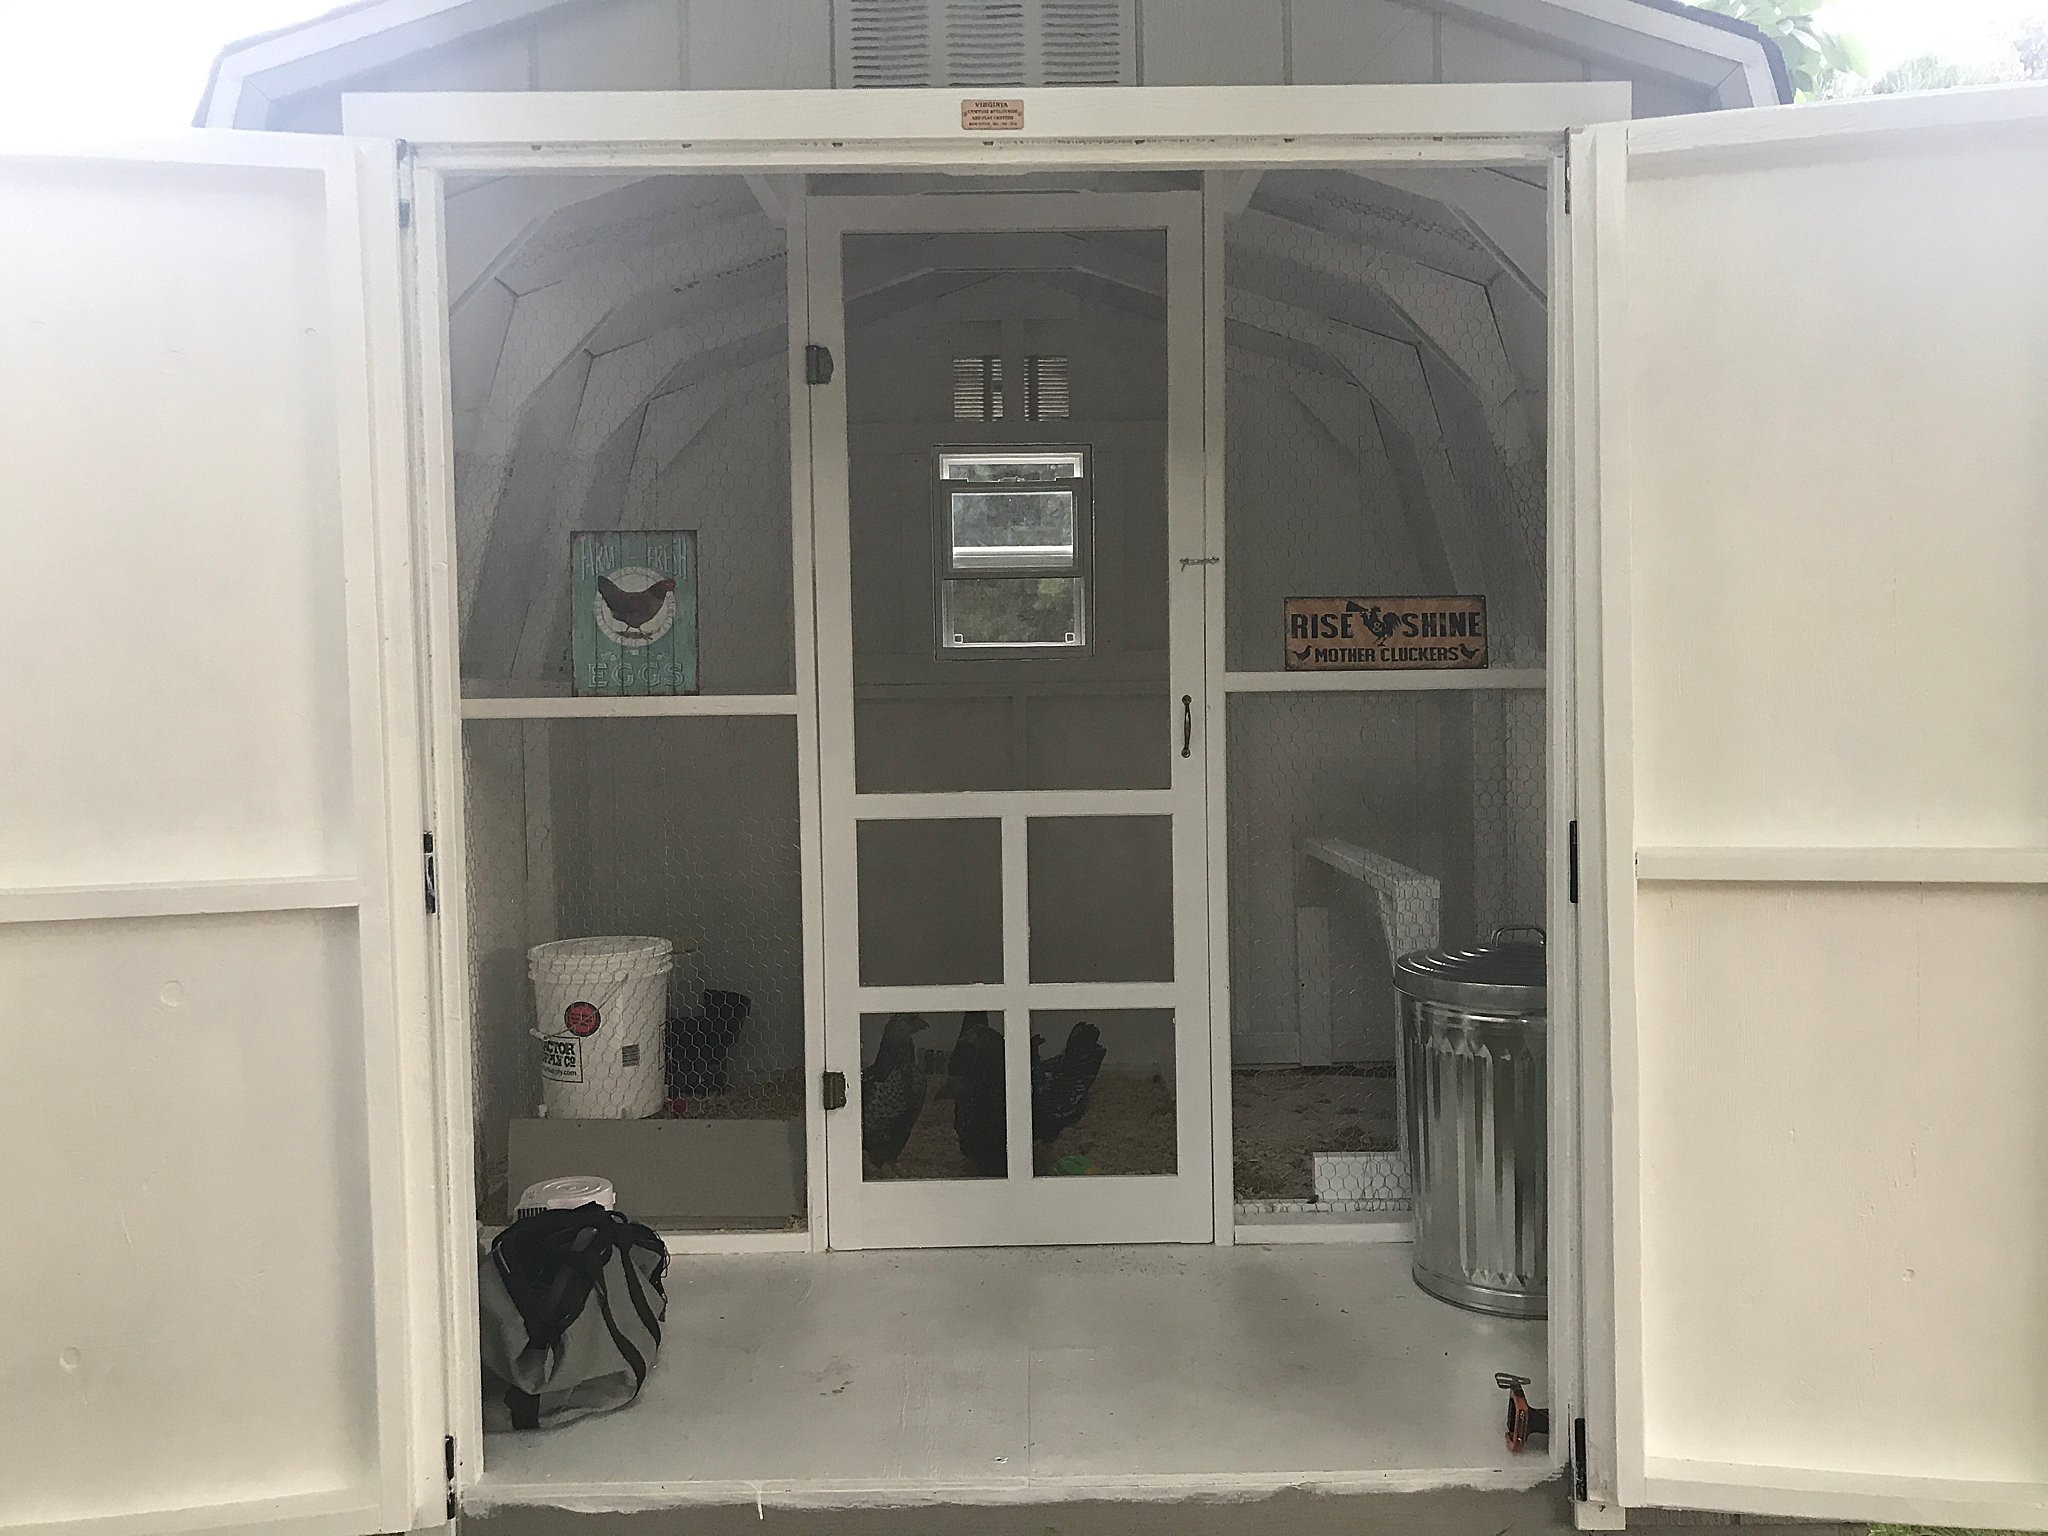
We still need to add the nesting boxes, but we’re pretty excited about how our coop turned out! Stay tuned for the completion of the outdoor run!
Other items seen:
Aluminum Can used for feed storage
Decorative Signs here and here
![]()
Previous Blog Post
Next Blog Post

"The photos definitely represent the best version of myself and give me a great boost of confidence..."
-Abigail, LMP Senior
get in touch!


-Beth, Family Client and Mom to two LMP Seniors
" Laura was easy to work with, flexible, and so artistic. Working with her was a great experience..."
get in touch!
-Amanda, Stepmom to LMP Senior, Ayrin
" I hope I get to work with you again someday. You are truly talented..."
get in touch!


"Laura went out of her way to make sure my daughter felt comfortable and to ensure we captured this milestone perfectly. Our photo gallery was exquisite and delivered to us so quickly..."
-Andrea, LMP Senior Mom
get in touch!
